Rows, adjust the layout as needed to achieve a balanced look. Once you’re happy with the placement, mark reference points on the floor to guide your installation.
Step Two: Prepare the Subfloor
A properly prepared subfloor is crucial for a successful tile installation. Start by ensuring the surface is clean, dry, and level. If the floor has any dips or high spots, use a self-leveling compound to even it out. For concrete subfloors, check for cracks and fill them with an appropriate patching compound. If you’re tiling over plywood, install a cement backer board using thin-set mortar and screws, making sure to tape and mud the seams for added stability.
Step Three: Mix and Apply Thin-Set Mortar
Choose the right thin-set mortar for your tile type and subfloor. Mix it to a peanut butter-like consistency, ensuring it’s neither too dry nor too runny. Using a notched trowel, spread a layer of mortar onto the floor, holding the trowel at a 45-degree angle to create uniform ridges. Apply only as much as you can tile over within 10-15 minutes to prevent the mortar from drying out.
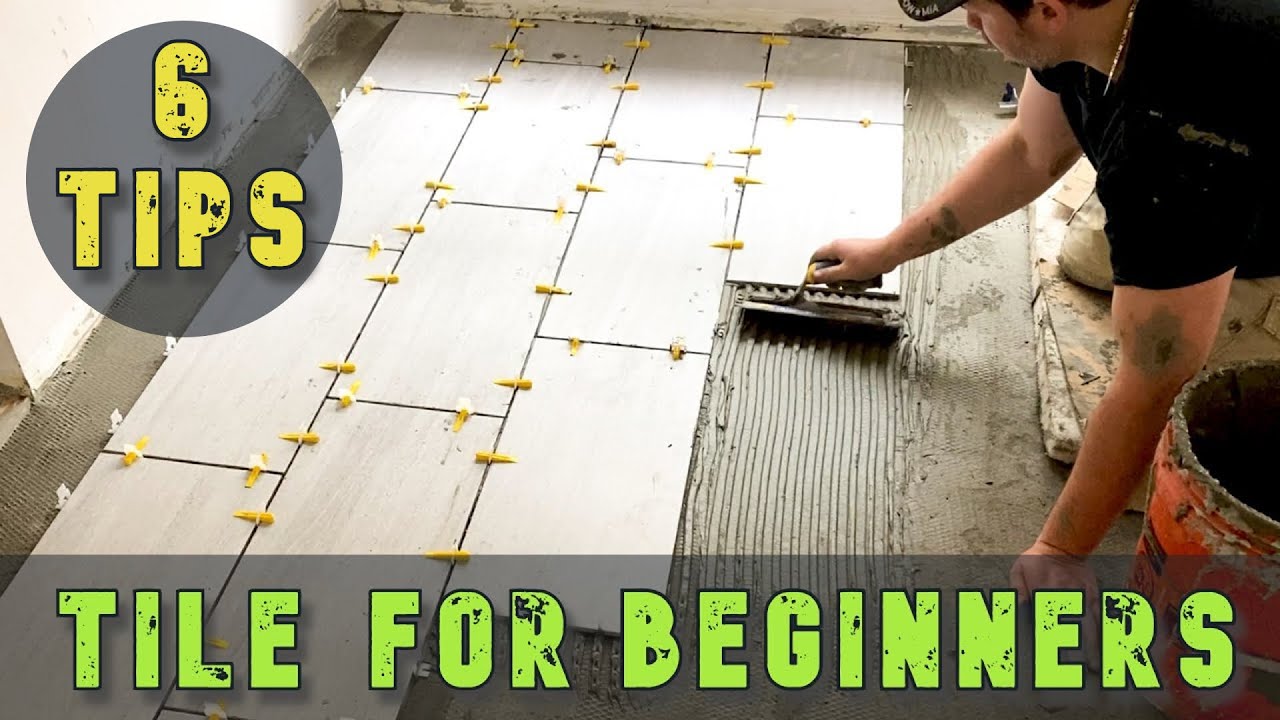
Step Four: Lay the Tile
Start at the center of your layout grid and work outward. Place each tile into the thin-set and gently press it down, giving it a slight twist to ensure good adhesion. Use tile spacers to maintain even grout lines. Check frequently with a level to ensure the tiles are even and adjust as needed. If using large format tiles, consider back-buttering each tile with a thin layer of mortar for extra adhesion.
Step Five: Cut and Fit Tiles
As you reach the edges of the room, you’ll need to cut tiles to fit. Measure carefully and use a tile cutter or wet saw to make precise cuts. For irregular cuts around doorways or fixtures, use a tile nipper or angle grinder. Dry-fit each cut tile before applying mortar to ensure an accurate fit.
Step Six: Grout and Finish
Once the thin-set has fully cured (typically 24 hours), remove the tile spacers and prepare the grout. Apply it using a rubber float, pressing it into the joints at a 45-degree angle. Wipe off excess grout with a damp sponge, rinsing it frequently. After the grout has set for the recommended time, buff the tiles with a dry cloth to remove any haze. Finally, apply a grout sealer if needed to protect against moisture and stains.
By following these six steps, you’ll be able to lay large format tile like a pro on your very first try! Take your time, stay precise, and enjoy your newly tiled space. Happy tiling!