Properly plumbing and venting a toilet is essential for a smooth, clog-free, and odor-free bathroom. Whether you’re a DIYer or a professional plumber, understanding the correct drain pipe sizing, slope, venting methods, and installation steps is crucial to ensure that the toilet functions efficiently.
In 2025, modern plumbing innovations, improved materials, and updated building codes continue to make toilet installations easier and more efficient. In this guide, we’ll walk through the step-by-step process of plumbing and venting a toilet using the latest best practices.
1. Understanding Toilet Plumbing Basics
A toilet plumbing system consists of:
✔ Drain Pipe (3” or 4”) – Carries waste to the sewer or septic system.
✔ Vent Pipe (1.5” or 2”) – Prevents airlock and allows smooth water flow.
✔ Water Supply Line (½”) – Provides fresh water for flushing.
The correct installation of the drain and vent system is key to preventing slow drainage, sewer gas leaks, and clogs.
2. Step-by-Step Guide to Plumbing a Toilet
Step 1: Choose the Right Drain Pipe Size & Slope
- Use a 3-inch or 4-inch PVC drain pipe for the toilet.
- Ensure the pipe is sloped at ¼-inch per foot toward the main sewer line.
- Use sweeping bends instead of sharp turns to maintain good flow.
💡 Tip: A 4-inch pipe allows for better waste flow, reducing clog risks.
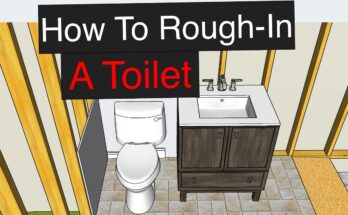
Step 2: Install the Toilet Flange
- Secure a closet flange (toilet flange) on the bathroom floor.
- The flange should sit flush with the finished floor for a proper wax ring seal.
- Use a stainless steel ring flange for long-term durability.
💡 Tip: If the flange is too low, use flange extenders to raise it.
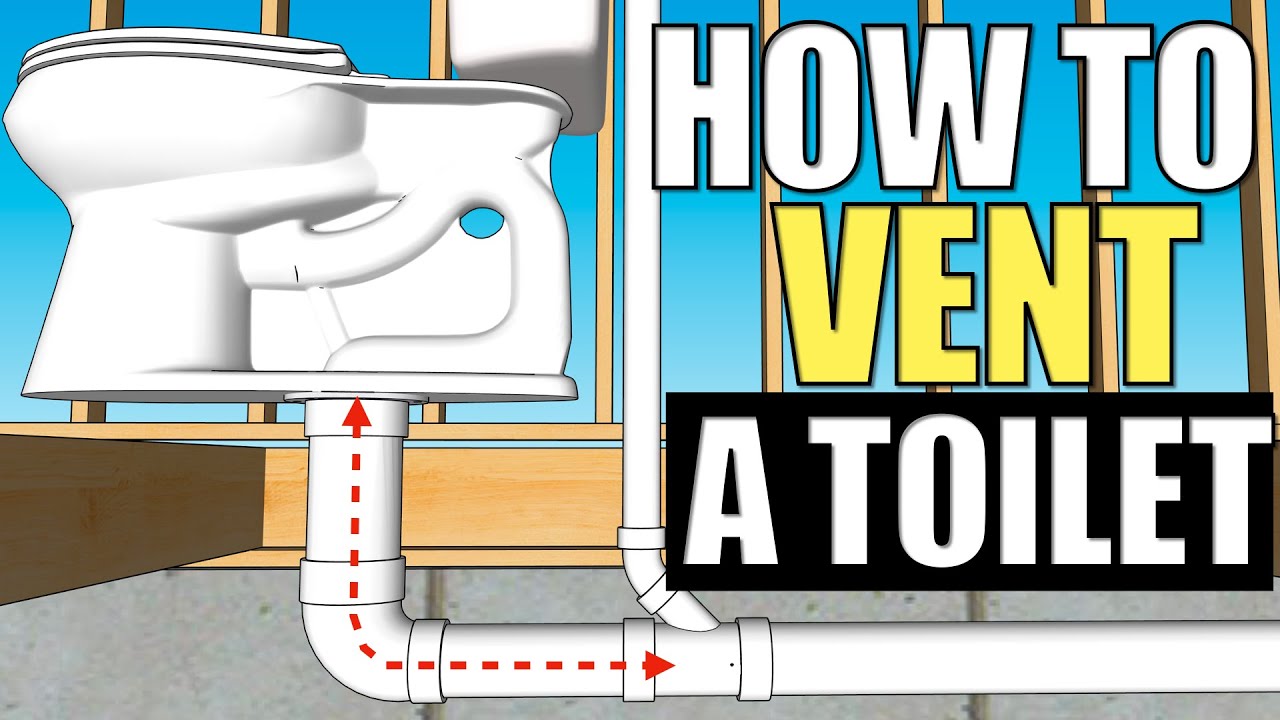
3. How to Vent a Toilet Properly
Step 3: Install the Vent Pipe
- Connect a 2-inch vent pipe from the toilet drain.
- The vent must rise at least 6 inches above the toilet’s flood level before connecting to other vents.
- Tie the vent into the home’s main vent stack or run it through the roof.
Alternative Venting Options
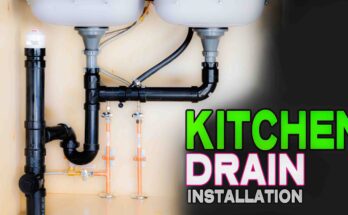
- Wet Venting: The toilet shares a vent with a nearby sink or shower drain.
- Air Admittance Valve (AAV): If traditional venting isn’t possible, use a code-approved AAV to allow air in while keeping sewer gases out.
💡 Tip: Keep vent pipes as straight as possible to prevent blockages.
4. Installing the Water Supply Line
- Use a ½-inch PEX or copper pipe for the water supply.
- Install a shut-off valve near the toilet for easy maintenance.
- Connect a flexible water supply hose from the valve to the toilet tank.
💡 Tip: A quarter-turn shut-off valve is the most reliable and easy to use.
5. Final Steps: Testing and Sealing
Step 4: Check for Leaks & Test the Flush
- Turn on the water and check all connections for leaks.
- Flush the toilet multiple times to ensure smooth drainage.
- Listen for gurgling sounds (a sign of venting issues).
💡 Tip: If the toilet drains slowly, check for vent blockages.
Conclusion
Properly venting and plumbing a toilet in 2025 involves correct pipe sizing, proper venting, and ensuring a secure water supply. By following this guide, you’ll ensure:
✅ Efficient waste removal with a correctly sloped drain pipe
✅ No sewer gas leaks with a properly installed vent
✅ Reliable water supply with durable connections
✅ Compliance with modern plumbing codes
With these steps, your toilet will operate smoothly and efficiently for years to come! 🚽💧