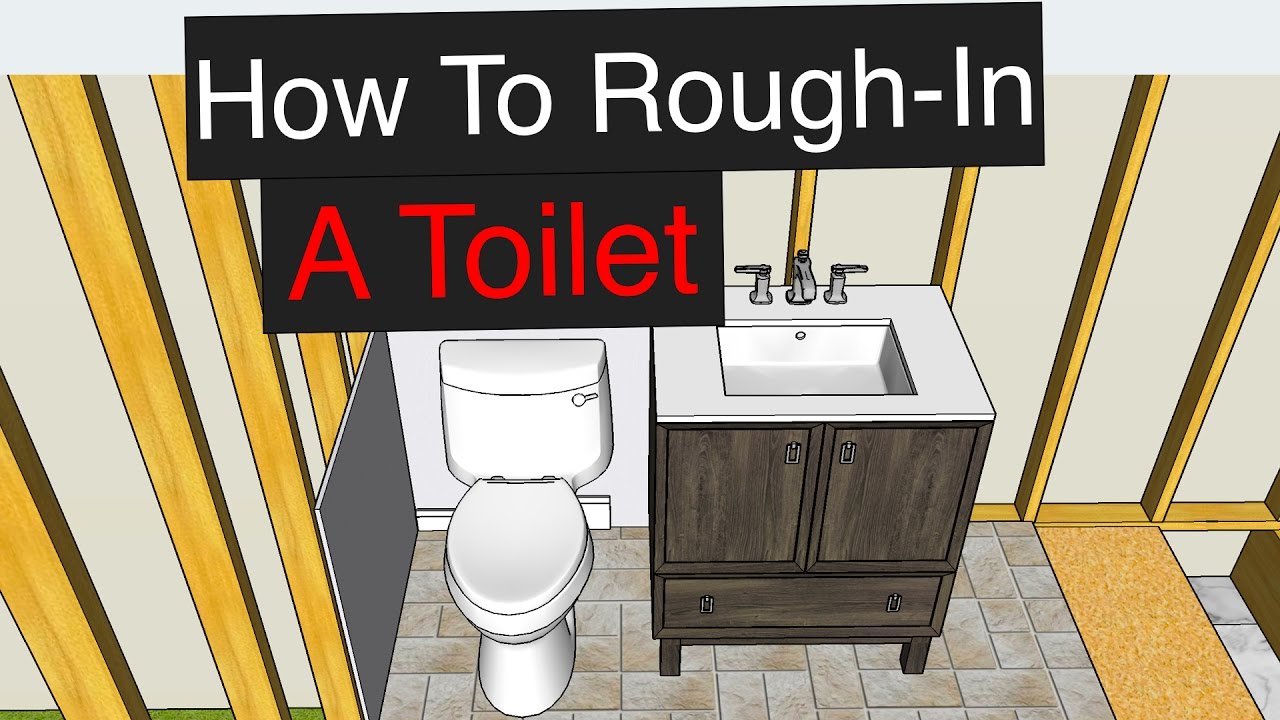
Properly roughing in a toilet is essential for ensuring a functional and comfortable bathroom. The term “rough-in” refers to the distance from the finished back wall to the center of the toilet flange, which is the fitting that connects the toilet to the drainpipe. Standard rough-in dimensions are 10″, 12″, and 14″, with 12″ being the most common in modern homes.
1. Determine the Appropriate Rough-In Dimension
Before beginning, measure the distance from the finished back wall to the center of the existing toilet flange. This measurement will indicate the rough-in size. If you’re installing a new toilet, ensure that the toilet’s rough-in dimension matches your measurement. Standard rough-in sizes are:
- 10 inches
- 12 inches
- 14 inches
The 12-inch rough-in is the most prevalent in newer homes.
2. Plan the Toilet Placement
-
Distance from Side Walls: Maintain a minimum of 15 inches from the centerline of the toilet to any side wall or obstruction.
-
Clearance in Front: Ensure there’s at least 21 inches of clear space in front of the toilet for comfortable use.
3. Install the Toilet Flange
-
Positioning: Place the toilet flange so that its center aligns with the determined rough-in dimension from the finished back wall.
-
Securing: Use appropriate anchors to secure the flange to the floor, ensuring it’s level and stable.
4. Install the Toilet Supply Line
-
Height: The center of the toilet’s water supply line should be approximately 8 1/4 inches above the finished floor.
-
Location: Position the supply line 6 inches horizontally from the centerline of the toilet.
5. Final Checks
-
Verify Measurements: Double-check all measurements to ensure accuracy.
-
Inspect for Obstructions: Ensure there are no obstructions that could interfere with the toilet’s installation or use.
By meticulously following these steps and adhering to standard dimensions, you can effectively rough in a toilet, setting the stage for a successful installation.